Keep your mix at the same sample rate it was recorded at
Whatever resolution you record at be it at 24 bit, 44.1 kHz, 24 bit 88.2 kHz or 24 bit 96 kHz, you should keep it at this same resolution all the way through to mastering. Don’t downsample or upsample your mixes, if anything like that needs to be done, let us do it here with our specialist tools.
Use modern high quality plugins in your mix
The sound quality of plugins varies enormously and huge advances in the quality of plugins have been made in the past few years. Avoid old or cheap plugins and avoid 32 bit plugins, you should be working with 64 bit plugins only. Splashing out on high quality plugins is worth the investment. Your music will be around for a long time, our advice is not to cut corners now by using cheap or old plugins. If you have recorded at lower sampling rates like 44.1 or 48 kHz, make sure all the compressor, saturation and character EQ plugins used employ oversampling. If they don’t, you risk introducing aliasing distortion into your mix (at type of undesirable digital distortion). Recording at 88.2 or 96 kHz avoids this problem, so if you have not yet recorded, we recommend using these higher sampling rates.
Do not use compression or limiting on the master bus
You are better off leaving that up to the mastering engineer, that’s what they specialise in. We have a range of world class bus compressors and limiters and vast experience. If you have already compressed and limited your master bus, it will severely limit what we can do to help your mix. If you really like the sound of your bus compression then send us two mixes, one with and one without the compression. Don’t use a bus limiter at all, you’ll simply be tying our hands if you do. Same with bus EQ or multi band compression, leave that up to us.
Leave some headroom
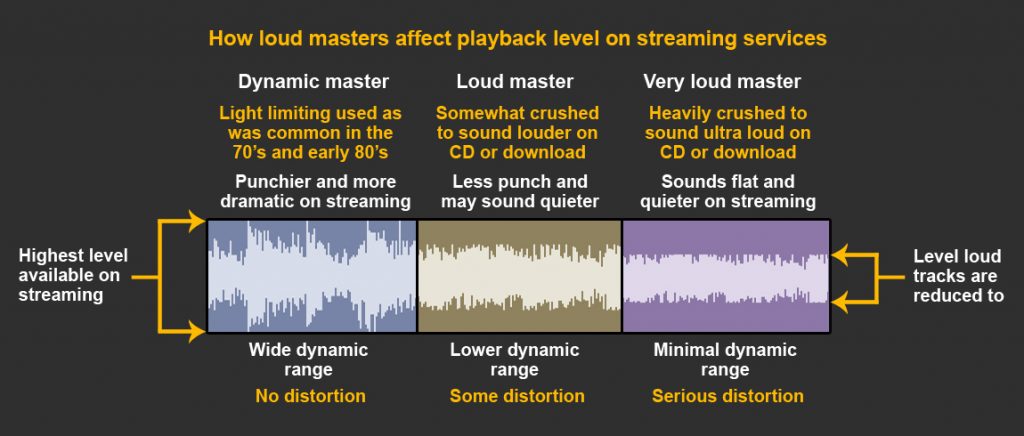
With 24 bit files there is no need to keep the levels near 0 db on your mix bus. It’s better to give us a few db headroom so we can bring the level up during mastering using our specialist tools to make it sound great.
Dither your bounce
You should bounce to a 24 bit wav file and stay at the same sample rate that your session was recorded in. Turn on dither in your DAW when bouncing or use a high quality dither plugin (Like PSP or Ozone dither) as the last plugin in your master bus chain. Why do I need to dither if it’s a 24 bit file? Modern DAWs work at internal rates higher than 24 bits, so truncation will occur when bouncing to 24 bits (even if the original audio is 24 bits). This truncation is minor and it’s no big deal if you don’t dither to 24 bits, but it will improve the quality further down the line if you do dither.
Zip your files
If you are sending us your mixes via the internet alway zip them first. If there is some file corruption during transfer the zip file will not open at our end and we can ask you to send it again. If it’s not zipped and there is transfer corruption, it may still play back at our end but there may be degradation.
Send us concise notes
In order for us to work with your mixes we need a text document which includes a list of the file names of all the audio files you’ve sent us. Next to each file name we need the actual name of the song exactly as it will appear on the final album. We also need the IRSC code (unless this is provided by the pressing plant) for each track.
CD pressing
We either can create a DDP file or provide you with separate 16 bit files for CD depending on which the pressing plant you use requires. If we are creating a DDP file we will need all the track names and the ISRC code for each track. If your pressing plant wants separate 16 bit files, then you will either give them the ISRC codes or they will provide them for you.